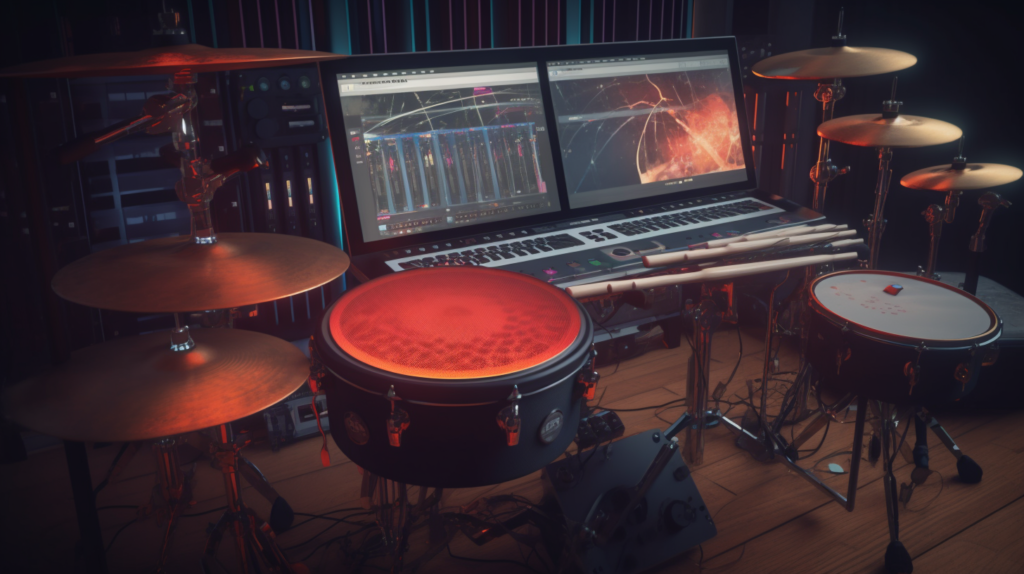
When it comes to music production and drum programming, understanding the fundamental elements of drum patterns is essential. The backbone of any great beat lies in its kick, snare, and hi-hat patterns. A solid foundation allows you to build more complex and creative drum sequences.
Start by getting comfortable with basic drum patterns. Experiment with different combinations of kick, snare, and hi-hat placements to find a groove that works well for your track. Remember, less is often more – keep your patterns simple and let them breathe.
Constructing a Steady Groove: Harness the Power of Swing and Quantization
In the world of music production and drum programming, the secret sauce to many irresistible beats lies in the subtle nuances of swing and quantization. These two elements, when expertly manipulated, create a groove that can either make your listeners bob their heads or get up and dance.
Quantization is the process of aligning your drum hits to a predefined musical grid. By locking your drum hits to a specific time division, quantization brings precision to your beats, ensuring a tight and consistent rhythm. However, excessive quantization can lead to beats sounding mechanical and lifeless. That’s where swing enters the equation.
Swing, in drum programming, refers to a rhythmic feel that shifts certain notes slightly off the grid, adding a “shuffle” or “groove” to your rhythm. It provides the human touch, the slight imperfections that are inherently present in live performances. By altering the timing of some notes, swing breathes life into a rhythm, preventing it from sounding overly rigid.
To master the art of groove creation, start by quantizing your drum beats to keep them in time. From here, introduce swing to certain elements of your drum pattern. This could be your hi-hats or perhaps a shaker. Start with a small amount and gradually increase it until you feel the groove coming to life. It’s a fine balance – too much swing can make your beats sound sloppy, but just the right amount can make them irresistibly catchy.
There’s no one-size-fits-all approach to using swing and quantization. Different genres and even different tracks within the same genre can demand varying degrees of swing. Hip hop, for instance, often features a significant amount of swing, giving it that characteristic laid-back feel. In contrast, genres like techno or trance typically have tighter, more quantized beats.
Understanding the power of swing and quantization is a crucial step towards more refined drum programming. Experimentation is key – don’t be afraid to spend time adjusting these settings until you find the groove that perfectly aligns with your vision for the track.
The Art of Layering: Creating Textured Drum Sounds
In your quest for unique and compelling drum programming, one of the most effective techniques at your disposal is layering drum sounds. Layering is the process of combining multiple sounds to create a new, composite sound. It adds depth, complexity, and interest to your drum beats, and can be the difference between a good track and a great one.
When you begin layering drum sounds, the first step is to choose sounds that will work together. This is often a matter of trial and error, but a good starting point is to select sounds that fill different frequency ranges. For instance, combining a kick drum with a lot of low end with a snappier, higher-frequency snare can result in a full-bodied, balanced drum sound.
Once you have chosen your sounds, the next step is to refine your layers. This involves adjusting the volume, panning, and EQ of each layer to ensure they blend seamlessly. You may also need to adjust the attack, decay, sustain, and release (ADSR) envelope of your sounds. This can alter the ‘shape’ of your sounds and help them fit together better.
Furthermore, while it’s common to layer similar types of sounds, such as two snares or two kicks, don’t be afraid to experiment with more unconventional combinations. Perhaps a shaker layered with a hi-hat for some extra sizzle, or a tom layered with a clap for an unusual percussive sound. The sky’s the limit, and the best results often come from these unorthodox pairings.
Layering, when executed well, doesn’t just create a new sound – it creates a soundscape. A landscape of auditory elements that dance and interact, ebbing and flowing to create a dynamic auditory experience. The interaction between these layers can create rhythmic patterns within your drum track, further enhancing the complexity and interest of your music.
Yet, a crucial aspect to consider when layering is phase alignment. Phase issues can occur when similar frequencies of different sounds overlap, leading to a weaker, muddier sound. To avoid this, you can manually adjust the timing of your layers or use phase alignment tools available in most DAWs.
The art of layering is, essentially, the art of balance. Striking the right balance between the different layers of your drum sound is a skill developed with time and practice. Too many layers can muddy your mix, while too few may leave it sounding thin or weak.
Therefore, in the quest for the perfect drum sound, layering is not just about stacking sounds on top of each other – it’s about understanding how sounds interact, how to manipulate their properties, and how to use this knowledge to create complex, richly textured drum beats.
So, as you delve deeper into your music production journey, keep experimenting with different layering techniques and sounds. Every new combination you try is an opportunity to learn and to create something truly unique. So get creative, and most importantly, have fun with it! After all, that’s what music production is all about.
Playing with Velocity and Dynamics: Towards a More Lifelike Sound
When entering the realm of drum programming, injecting human-like dynamics into your drum patterns can make all the difference. One of the most efficient ways to mimic this natural, human feel is by manipulating the velocity and dynamics of your drum hits.
The term ‘velocity’ in the context of drum programming refers to the force with which a drum is hit. By adjusting the velocity of each drum hit, you can effectively emulate a real-life drummer who strikes the drums with varied intensity throughout a performance.
Try adjusting the velocity of your softer drum elements, such as ghost notes or hi-hats. This can create subtle rhythmic patterns and dynamics within your drum track, offering a more intricate listening experience. For example, in a typical drum groove, the second and fourth snare hits are often accented, while other hits like ghost notes are played softer. Replicating this in your programmed beats can bring them to life.
However, achieving a natural and believable feel with velocity changes is not a matter of random adjustments. It requires an understanding of the natural tendencies of a drummer, the rhythmic context of the song, and a keen ear for detail.
Velocity changes, when combined with other dynamic elements like crescendos, decrescendos, or sudden dynamic shifts, can significantly enhance the expressiveness of your drum patterns. The interplay of these dynamics contributes to the overall emotional impact of the track.
In essence, integrating velocity and dynamics into your drum programming is an exercise in subtlety and attention to detail. With thoughtful application and mindful listening, these tools can be your secret weapon to creating drum patterns that truly resonate with your listeners.
Crafting Sonic Excellence: Applying Effects and Processing to Your Drums
When it comes to refining your drum programming, the proper application of effects and processing techniques can dramatically uplift the overall quality of your drum sounds. The right effects can transform a flat, lifeless drum sound into a vibrant, punchy rhythm that carries your track forward.
Here are some commonly used effects in drum processing:
- Equalization (EQ): EQ allows you to adjust the frequency balance of your drum sounds. You can use it to cut unwanted frequencies, boost essential ones, or carve out space for different elements of your mix. It’s a fundamental tool for shaping the tonal characteristics of your drums.
- Compression: Compression can help control the dynamic range of your drum sounds, making them sound tighter and more cohesive. It can also add sustain to your drum hits, making them feel bigger and more impactful.
- Reverb: Reverb can add a sense of depth and space to your drum sounds, making them feel more natural and less dry. But be mindful of the amount and type of reverb you apply, as too much can make your drums sound distant and washed out.
- Saturation: Saturation can add warmth and character to your drum sounds, giving them a pleasing analog feel. It can also increase the perceived loudness of your drums without adding actual volume, helping them cut through the mix.
When applying these effects, remember to consider the overall context of your track. The desired sound of your drums should complement the style, mood, and genre of your music. For instance, a tight, punchy snare might be suitable for a pop track, while a looser, more resonant snare might be more fitting for a jazz or blues number.
Pioneering Your Sonic Identity: Crafting Your Signature Drum Sounds
In the vast ocean of music production, establishing your unique sound is essential. And one compelling way to carve out your musical identity is by creating your signature drum sounds. This doesn’t mean you need to invent new sounds; rather, it’s about using existing tools to shape and mold sounds that align with your musical vision.
Developing your signature drum sounds is a journey of experimentation and discovery. It involves delving deep into the realms of synthesis, sampling, and sound manipulation. Here are a few strategies to help you on this quest:
- Synthesis: Drum synthesis involves using a synthesizer to create drum sounds from scratch. This approach provides the most control and flexibility over the sound you create. For example, you could use a sine wave as the basis for a kick drum, adding pitch envelope and distortion to shape it into a punchy, powerful kick.
- Sampling: Sampling involves using pre-recorded sounds as the basis for your drums. These could be sounds from a sample pack, field recordings, or even other pieces of music. The beauty of sampling is the almost limitless palette of sounds you can work with. For instance, you could take a recording of a wooden block hit, pitch it down, add some reverb and compression, and voilà – you have a unique, organic-sounding kick drum.
- Layering: As mentioned earlier, layering involves combining multiple sounds to create a new, composite sound. But don’t limit yourself to layering only drum sounds. Try layering a snare with the sound of a glass breaking, or a hi-hat with the sound of rustling leaves. You might be surprised at the unique textures you can create.
- Processing: Processing includes all the techniques we’ve discussed, like EQ, compression, reverb, and saturation, but also more creative effects like modulation, pitch shifting, and time-stretching. These can all be used to transform and shape your drum sounds in unique ways.
As you dive into this journey, remember: the goal is not to create the “perfect” drum sound. Instead, it’s about finding the sounds that resonate with you, that represent your musical vision, and that set your music apart.
The process of developing your signature drum sounds requires time, patience, and a willingness to venture into the unknown. However, the rewards are well worth the effort. By investing in your own sonic identity, you’re not only enhancing your music – you’re also paving your path towards a distinctive and memorable musical style.
Remember, when it comes to music production and drum programming, practice makes perfect. By consistently applying these tips and tricks, you’ll develop your skills and elevate your tracks to new heights. Happy producing!


